Here at ST8MNT we are no stranger to working outside of the digital platform, with our hands. We often combine hand-work with digital programs to create layered design. Just look at these projects: Chris Cagle and Taylor Swift. I was originally asked to take charge of this crafty instructional just to give you an opportunity to get your scissors out, but I think this article should be more than that. I don’t want to show you what to make, but instead show you how to better execute your own ideas by offering you tips and tutorials from my own studies and other design and craft professionals. I’ll also include some places to find inspiration for further study at the end of this section. So, let’s begin!
This month is obviously home to one of our most romantic, and also sometimes most annoying, holiday, Valentine’s Day! So for that reason I will be working with a super classic design, the heart.
Now before I go any further I want to prepare you for your woodblock cutting. First, you need to have the right tools. The Asian continent was the king of wood carving and it still makes some of the best tools on the market. There are a million different brands, but I find the most comfortable to be the straight-handled design with a small divot for the U-bend between your thumb and index finger since this is where your control will come from. Here is the set I would recommend for any woodblock artist.
In addition to this you will need a sharpening block for your tools. Here is the sharpener I would recommend. I will discuss how to use this block later on.
Now to your choice of wood. I will address the types of woods used in woodblock carving at another time. For all of the woodcut instructables, I will be using MDF for it’s smoothness, availability, cost effectiveness and easy prep. Please read the safety section below before working with this material.
*MDF SAFETY* When MDF is cut, dust particles are released into the air. This dust emits a urea-formaldehyde compound which, in sufficient concentrations, will make you nauseous and may pose health risks. For this reason, if you find yourself working very close to your woodblock, which is typical if you are carving small details, wear a respirator mask to prevent the inhalation of this dust. It is also extremely important that you never cut your MDF near any open food or drink products as dust in the air will settle onto your meal or snack.
Now that you’re prepped it’s time to start carving!
Supplies You’ll Need:
Woodblock Chisel Set
Chisel set sharpening block
MDF block (4”x4”, .5” thick)
#2 pencil
Super sharpie
Exacto knife with sharp blade
Straight-edge
1 small sawtooth hanger
Small hammer
Acrylic paint (I’m using neon pink for Valentine’s.)
Flat paintbrush
Small brayer
Blockprinting ink (preferably black for contrast)
Clear acrylic spray (gloss)
A good idea
Step 1.
Wipe down your MDF square with a damp cloth to remove any present dust.
Step 2.
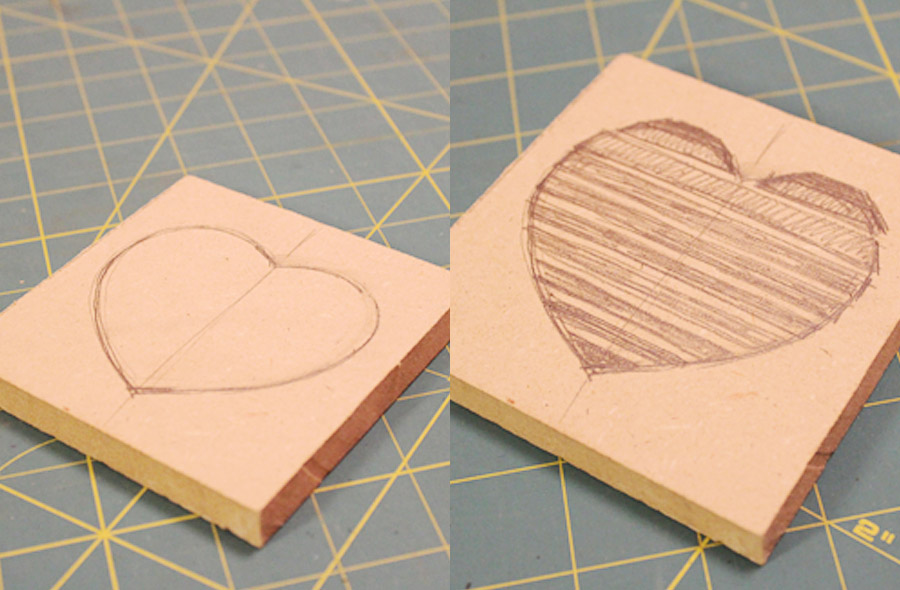
Using a #2 pencil, sketch your design onto the surface of the MDF. Or, if you are using a print-out, cover the back with pencil lead and then trace your design onto the MDF.
Step 3.
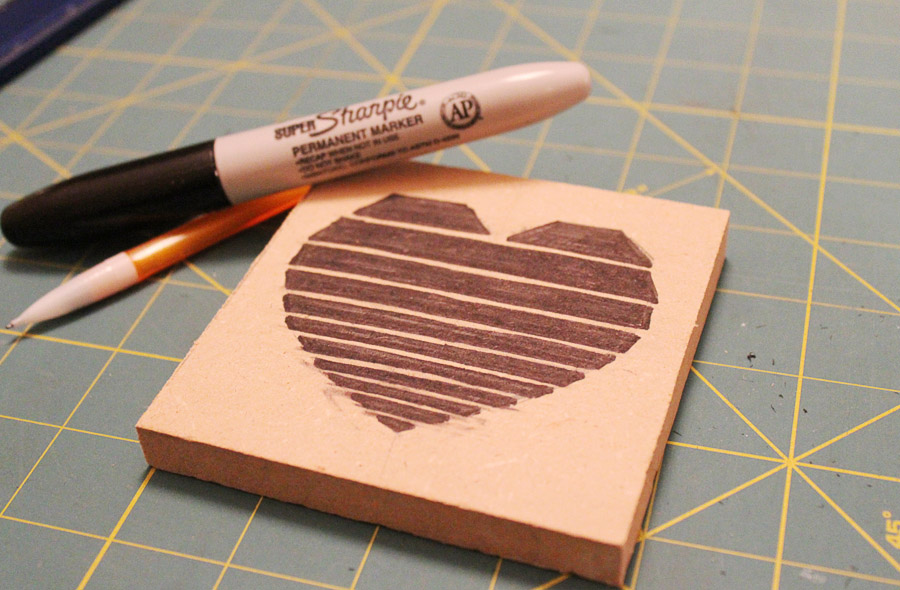
Color-in with a sharpie ONLY the portion of the design that you do not want to be carved away. Or, in other words, color-in the portion of the design you want to be printed. Then, use watered-down acrylic paint to color the MDF block. This will help you see which parts of the block you have already carved away when you begin with your chisels.
Step 4.
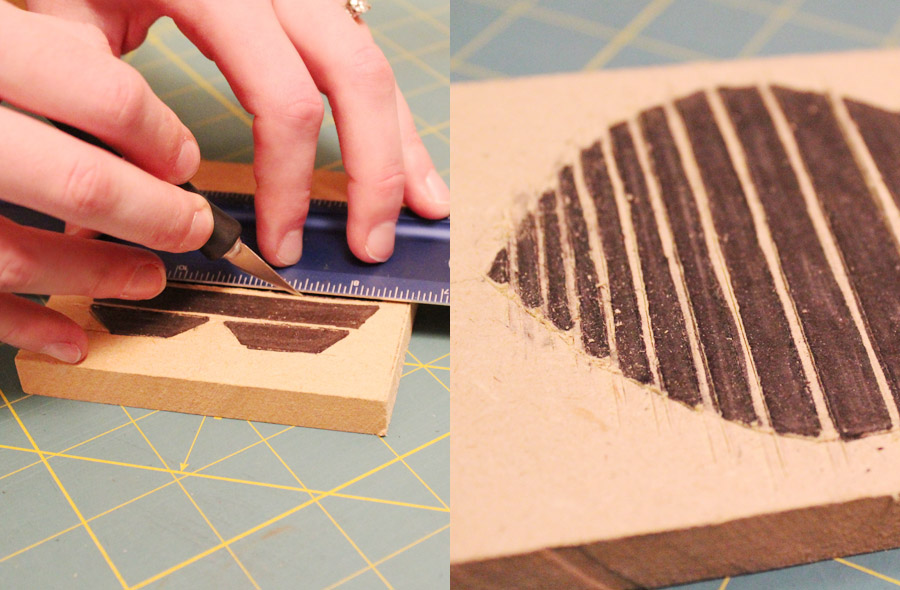
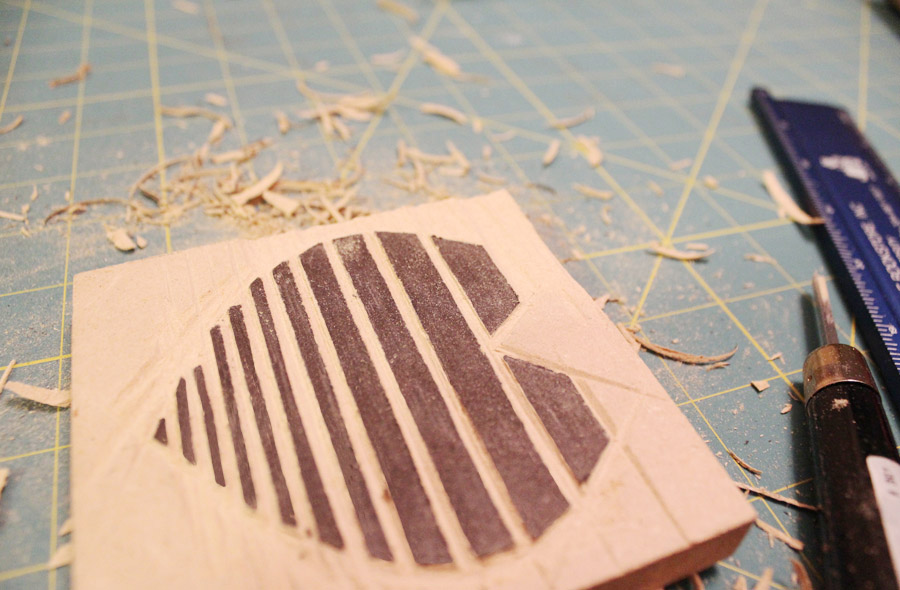
Begin by carving the details. For this tutorial I want to teach you the trick of carving a crisp straight line. When you have more practice with woodblock carving, you will be able to control your chisel and do this free-handed. But for now, if you are not an experienced carver, use the following trick to add precision to your design.
TRICK: CARVING A STRAIGHT LINE
Grab your straight-edge and Exacto knife. Align your straight-edge along the design where you want exactly that. Now, guide your Exacto blade along the edge with light pressure. Repeat this 3 or 4 times to be sure your cut is deep enough.
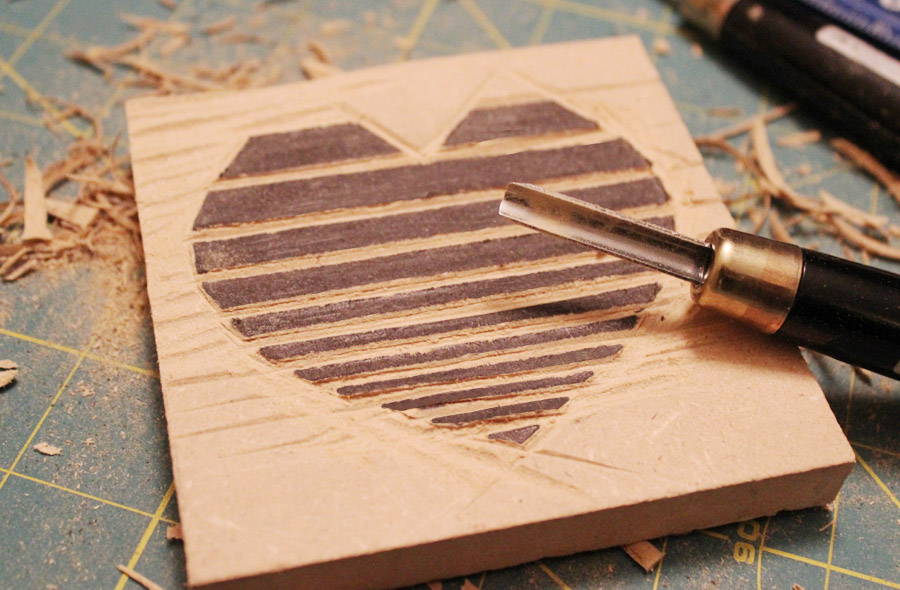
Sharpen your smallest V chisel by running it over the appropriate groove on your sharpening block. Now you are ready to carefully carve along the edge of the exacto-ed line. The MDF should peel away cleanly, leaving a straight edge. Warning: If your chisel is not sharp you will rip away at the wood and possibly cause your straight line to tear unevenly.
Step 5.
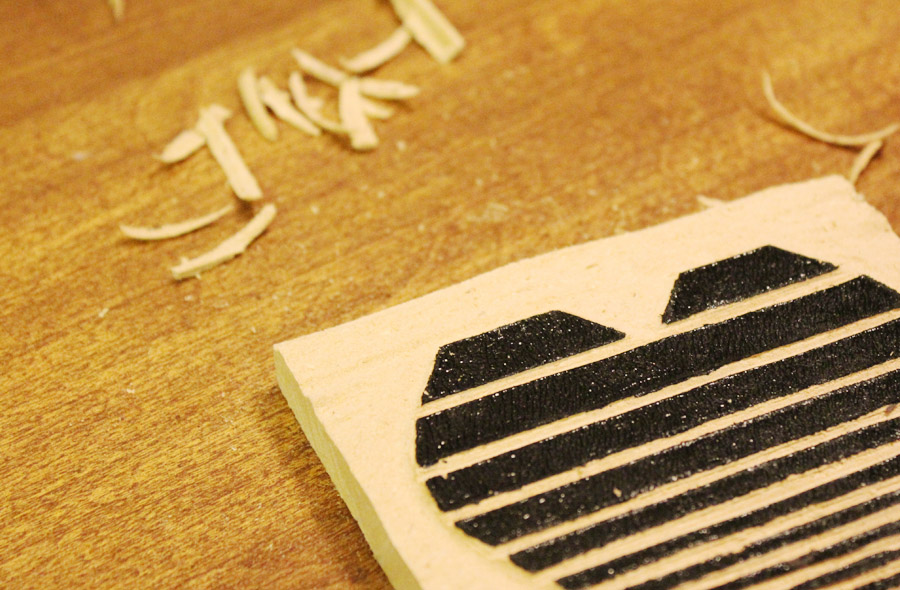
Finish carving away all portions of your design that are not marked with Sharpie.
Step 6.
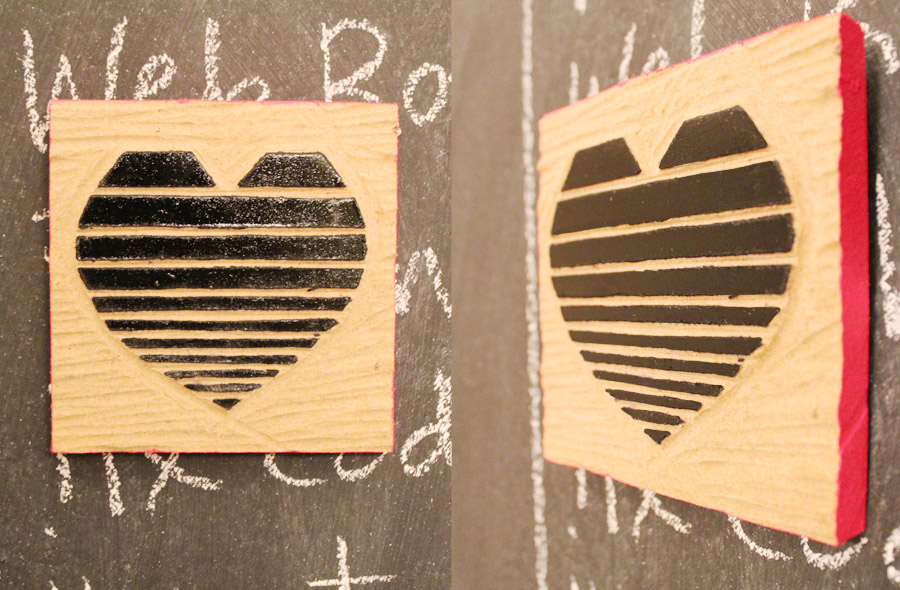
At this point, all that should be left on your block are the sharpied areas. Now, you are ready to proof your design.
TECHNIQUE: PROOFING YOUR DESIGN
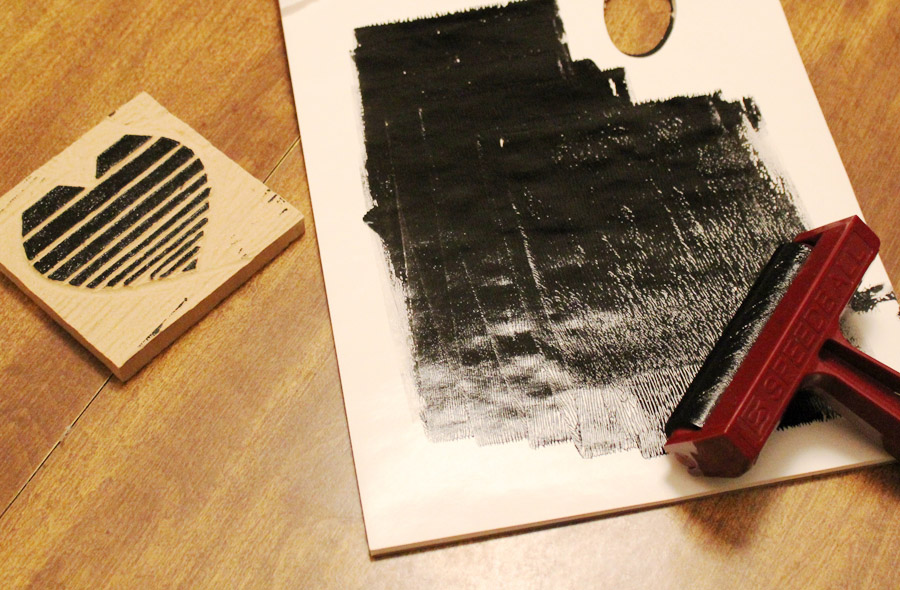
Squeeze a small amount of ink onto a flat surface. Then, roll your brayer to spread the ink and coat the roller.
Lightly and evenly run the brayer over your finished woodcut until you have sufficiently coated your design.
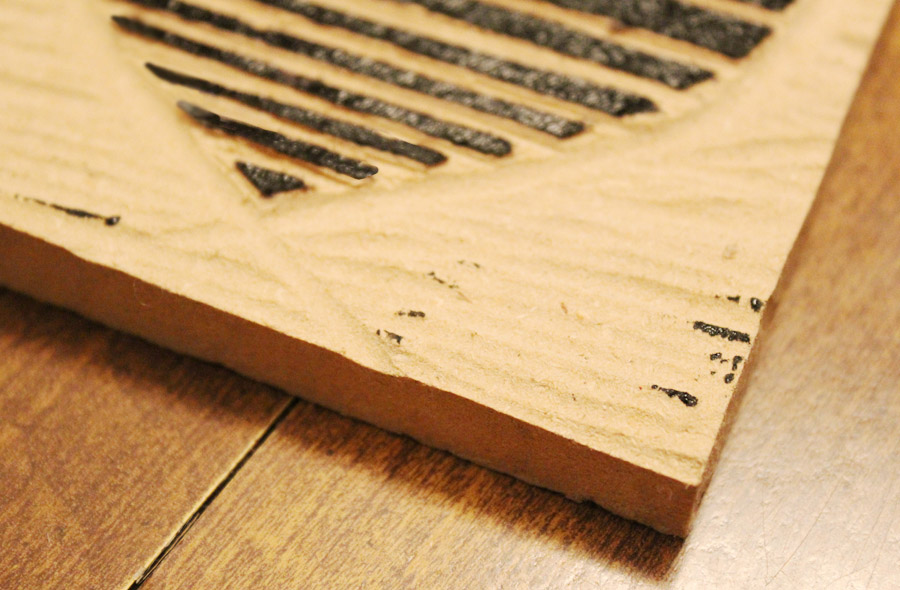
At this point, if any part of your carving is grabbing ink where it shouldn’t be go ahead and carve away those ink spots. Really this process has a lot to do with preference. If your design is messier and you want more texture, you may choose to leave the extra inked spots. But if your design is meant to be clean and precise, you might want to make sure that you don’t have any stray ink spots as it will make the finished product look unprofessional and rushed.
Step 7.
Once you are happy with the ink coverage on your woodcut. Let the ink completely dry. Don’t try to wipe it off as it will smear and cause your block to look messy.
Step 8.
To seal your block, first wipe it clean of any excess dust with a damp cloth. Then lightly coat the carving with clear acrylic gloss spray. I usually do three different coats to make sure that no dust is exposed and the finish is super even. Gloss spray smells terrible so do this in a well-ventilated room or outside in a place where any dirt won’t accidentally stick to your block.
Step 9.
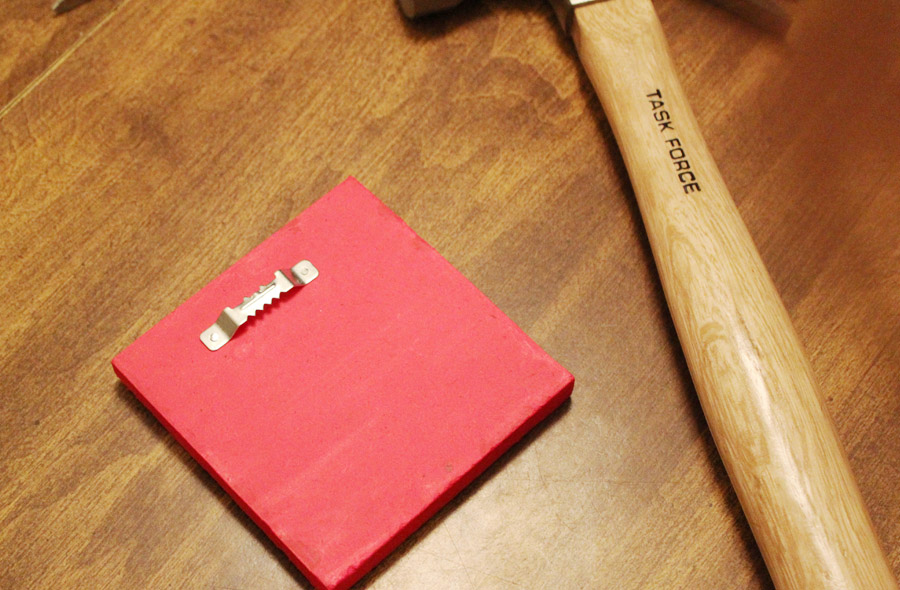
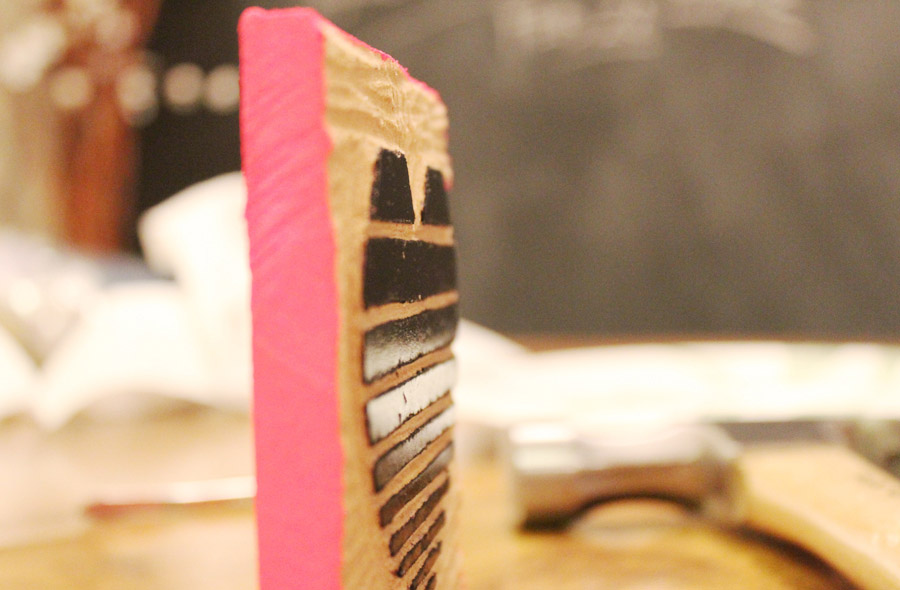
Now that the sealant is dry, it’s time to add a little flair and utility to your woodblock! Paint the edges and back of the block carefully with any color acrylic you think best suits your project. I chose a neon pink for Valentine’s Day and because the pop gives my block a funky art look.
Step 10.
Attach the sawtooth hanger with the small hammer.
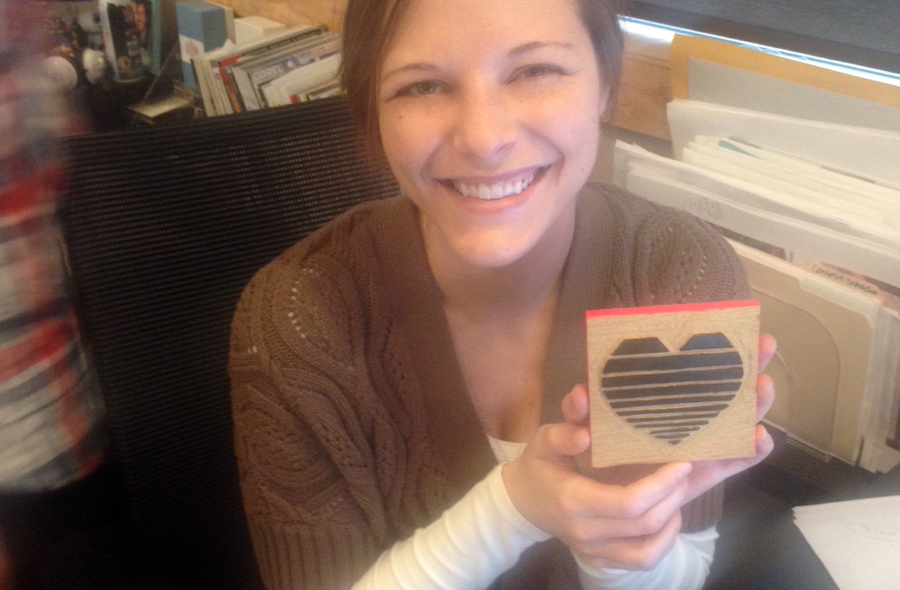
Now give your art to someone special! They will be able to take with them and print anytime using a brayer and some relief printing ink. Or you can keep it for yourself and print cards, pillows, canvas, etc. The sky’s the limit! Simply use the hanger to put it back up out of the way when not in use.
Today I’ve gone over with you how to execute a simple design by carving nice straight lines and woodblock proofing. But this is just the tip of the iceberg. Stay tuned for more ST8MNT Instructables! Below are some inspirational links for you to look into to learn and see more about the bad-assness of wood carving. Check them out and enjoy the smile you’re gonna get when your someone special open’s this hand-crafted gift! Happy Valentine’s!


